 I'd love to knit and walk. I was actually thinking the other day that if I could some how figure out how to knit while doing the dishes, I could get a lot more knitting in my day. This is the level of depravity that I have reached. And knitting and walking, well, I walk A LOT in this town. Just think of all the knitting I could do walking to the library and the grocery store and the park and the school and the subway station. I'd be speed knitter girl!
This, I'm afraid, will never happen. A) because I almost always have someone or two some ones whose hand I need to hold or whom I need watch like a hawk to make sure no sidewalk licking is taking place, or my hands are just full of two backpacks, tow coats, a discarded scooter and a bag of groceries. But even if that were the case there is B) the fact that I am totally uncoordinated and knitting while walking would just lead to face plants and possibly getting hit by a taxi, because they rely on you watching them, not the other way around.
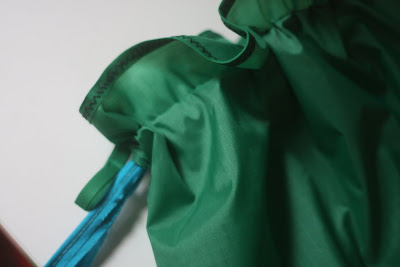
But just because I can't walk and knit doesn't mean those little project bags wouldn't be handy. Since then I've actually noticed a lot of knitters with them. And it makes perfect sense. Instead of toting a whole separate knitting bag with you, these small, squishy bags can be stuffed into your normal purse and they will keep your yarn and needles from getting tangled with your string cheese and ipod earbuds. They also keep your yarn from rolling all over the place while your are sitting around the living room (park, kitchen, playground, subway) knitting.
I could buy one, yes. They sell them at every knitting shop around, but why, when they are so simple. Plus I had a bunch of ripstop fabric out yesterday while I was working on making a draco lizard costume (Don't' worry, I don't know what a draco lizard is either. My kid, he picks the weirdest things to be for Halloween).
You could make this smaller or bigger, depending on how much storage you want. I'm working on a sweater and have a few more ready to cast on when this is done so I wanted something that could hold a lot of material.
You'll need:
1/2 yard of fabric - lightweight is best, ripstop was perfect
1/2 yard of double fold bias tape
1 yard of cording or ribbon
 First cut a rectangle 25 inches wide and about two and a half inches wider than you want the height of your bag. for me this was 18 inches.
Along one of the long sides, fold the bias tape over the raw edge and use zigzag (or straight) stitch to attach. I used a contrasting color since the bias tape I had was the same color as the fabric. Needed a little zing. Ya know?
 Three inches down from the bias tape edge, fold a 1 inch channel and straight stitch across, backstitching at each end.
With the channel sides out, fold the bag in half (hamburger style) so that the bias tape ends and the ends of the channel meet.
 Slip a loop of bias tape in just above the channel. This will allow you to clip the bag to your bag of your belt, should you feel the need to walk an knit. :)
 Sew from the bottom of the bag to the bottom edge of the channel and then from the top of the channel to the top of the bag. Leave the channel ends open.
Sew along the bottom and trim the excess fabric on both bottom and side seam so they are nice and neat.
While the bag is still inside out, run the cording/ribbon through the channel and then tuck the tails through the opening you left at the ends of the channel so that thy will be on the outside on the bag.
 You can leave the bag like this or, if you want a flat bottom (so that it will stand up) fold the bottom so that you create triangles with the bottom seam running up the center and stitch across about 2 inches in.
 Trim all your threads, turn the bag right side out and pop in your yarn.
